We’re always on the lookout for free tools that help you do more on social media.
If you know you should post on social media more often…but making graphics (let alone a video) is too hard, try Adobe Creative Cloud Express. It’s part of a new suite of free and low-cost online tools that can help you make images, videos, and more – perfect for social media or your website. You don’t have to create anything from scratch, either. Use Adobe’s free templates, free fonts, and a selection of free stock photos. You can use it on the web or a mobile device, and every account comes with 2GB of storage, all for free.
In this post, we’ll show you what the free version has to offer and how to get started. Later, in a follow-up post, we’ll show you what extra goodies you get in the paid version ($9.99/month or $99/year).
The bottom line? If you’re willing to put in 10 minutes of work, you can have new graphics to post – with automation and interactivity – every single day.
Jump to a section:
Getting Started
Branding Options
Make a Facebook, LinkedIn, or Twitter Post
Make an Instagram Story
Creative Cloud Express: Getting Started
Once you sign up, the app will ask you what you want to use it for. Your answers help the app figure out what kind of templates might be most useful for you. It will also ask you how much experience you have with creative apps so it knows how much help to give you.
When you get to your dashboard, you can select a project or template. Here’s what it looks like:
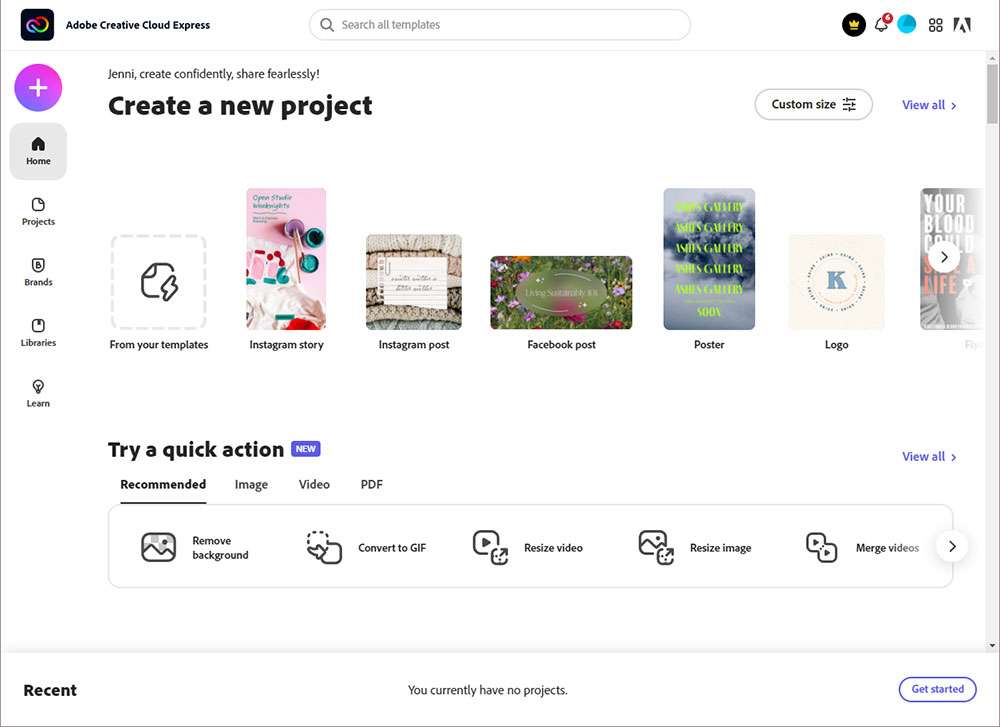
You can select templates for the following:
- Instagram story (this vertical size will also work as a Facebook story)
- Instagram post (this square size will also work as a Facebook post)
- Facebook post (this is a traditional rectangular post size that will also work for Twitter and LinkedIn)
- YouTube thumbnail
There are options for other print and digital projects, like a logo, poster, flyer, or book cover. But for the purposes of this walk-through, we’re going to make a Facebook/Twitter/LinkedIn post and an Instagram story.
Creative Cloud Express: Branding Options
You also have the option to add a brand logo, color, and font. The app will generate sample templates using your input, making it even easier to create something on days when you’re pressed for time or not inspired.

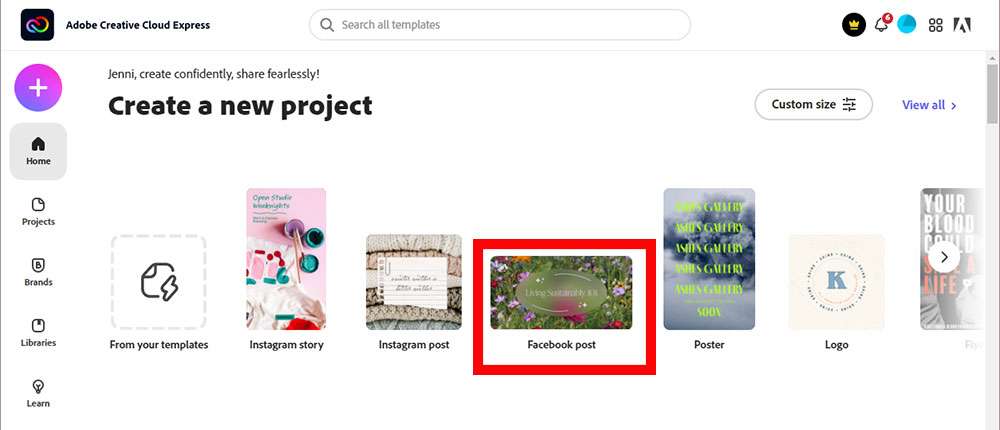
Make a Facebook, LinkedIn, or Twitter Post
From your dashboard, select the “Facebook post” template.
Select a template from the menu provided – there are categories including Sales and promotion, Lifestyle, Events, and Seasonal. We clicked “Lifestyle” and selected a template.
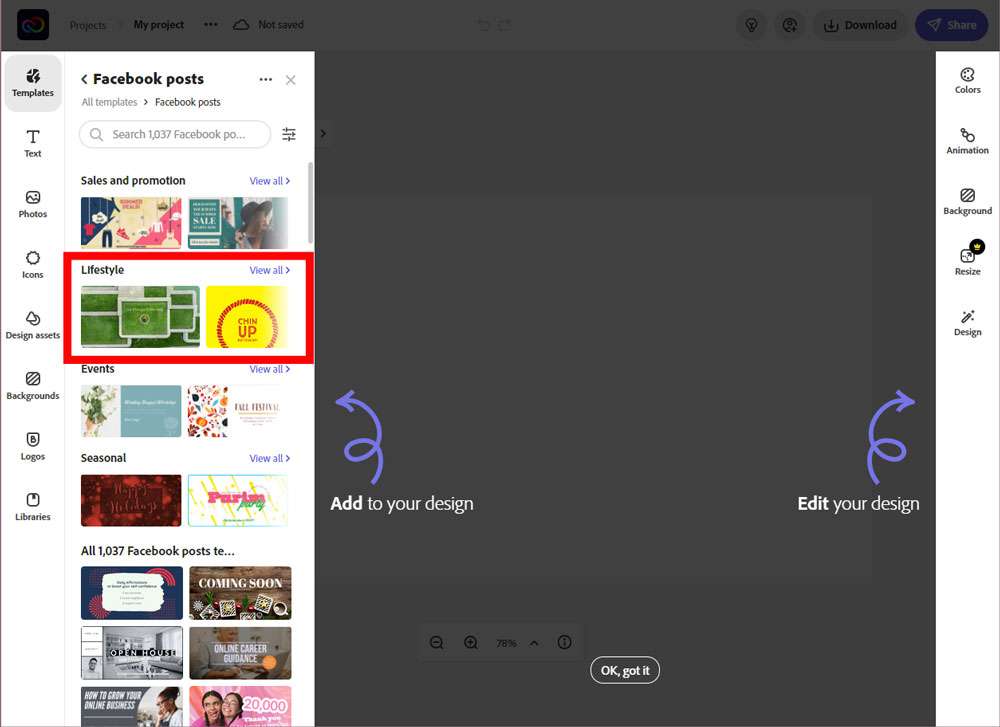
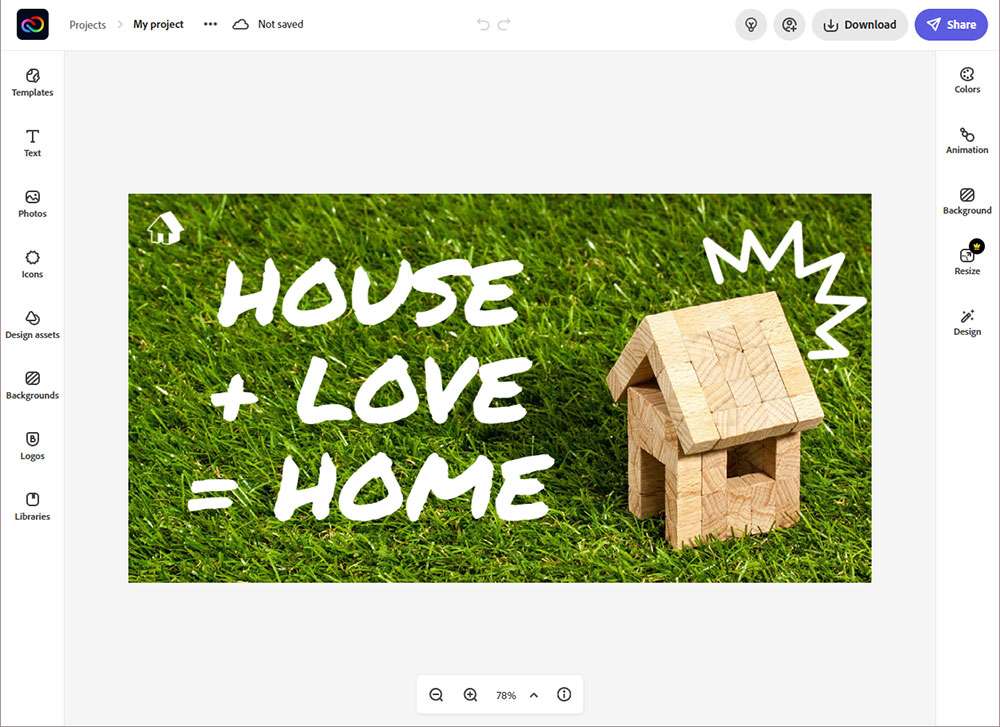
Our template looks like this:
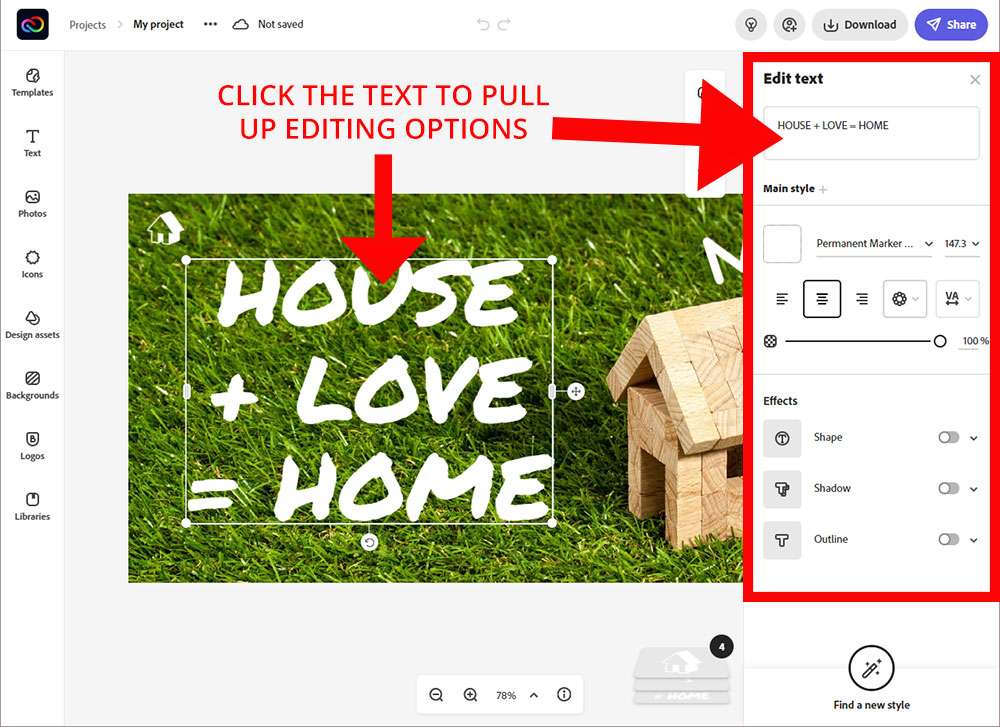
Now comes the fun part. Want to change the placeholder text? Click on it – the Edit text menu will appear on your right. You can type in your own text, change the font, change the font color or size, add shadow, and do all kinds of fun stuff. We’re changing that font because it’s getting on our last nerve.
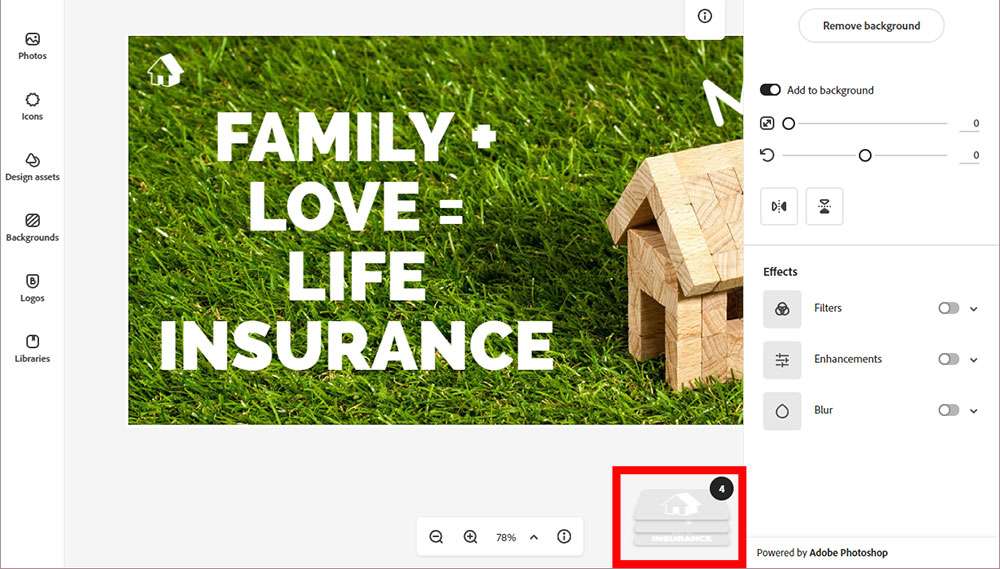
Next, let’s see what we can do about that background image. We’re not too keen on the wooden house and grass thing they have going on. Because this platform is Adobe, your image is created using layers (just like in Adobe Photoshop). The background image is a layer, as is the text we just edited, as are the icons in the template (the house in the top left, for example). Every element you add to the template will be placed on a new layer at the top of the stack. To get to the bottom of the stack and swap out your background image, you need to click the layers stack on the bottom right of your image (shown below).
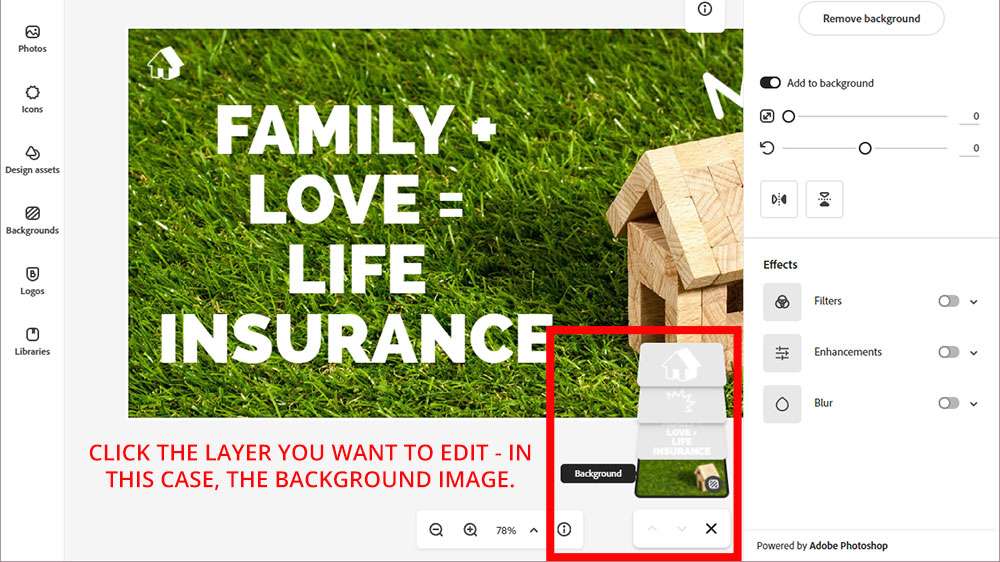
As you hover over or tap each layer, you can see what it consists of – graphic, text, and – on the bottom – the background image. Click on the background image layer so you can replace it.
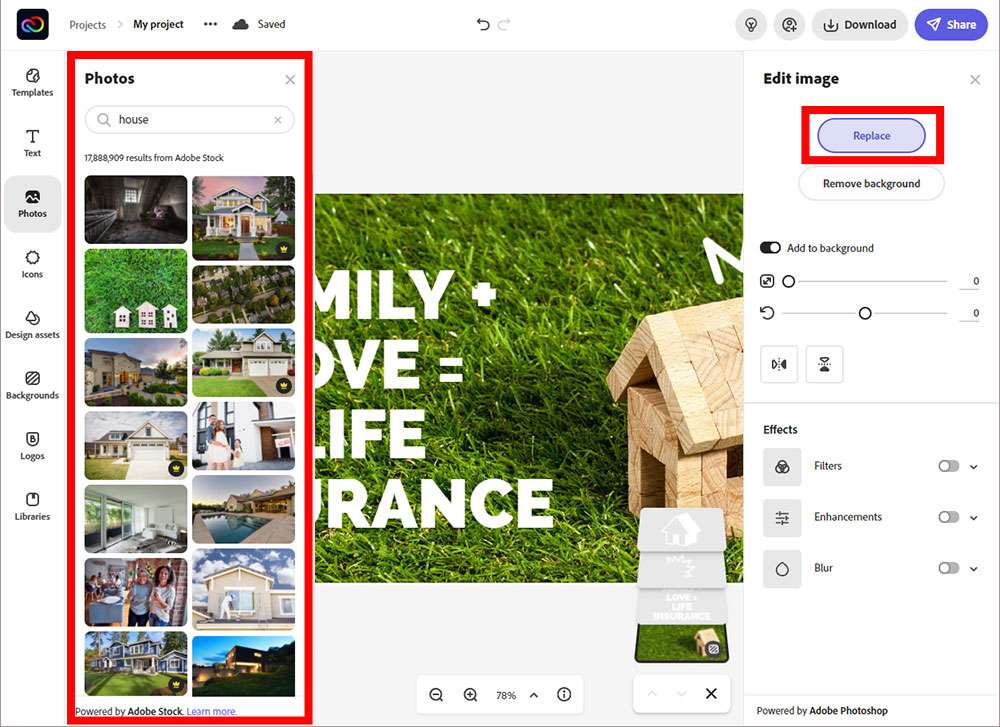
Once you have the background layer selected, your right-hand menu will give you options to replace it, remove it, or tweak it. You can resize images, zoom in or out, give them filters, blur them, and a whole lot more. Click Replace and the app will pull up the Photos option in your left-hand menu. Browse using their categories or use the search bar at the top to find something in particular. We typed in “family” and got a whopping 5,877,019 results available through Adobe Stock. Click any photo to apply it to your template.
Don’t like that selection either? Don't just click another image. Instead, click your layer stack again, select the background layer, and select Replace from the right-hand Edit image menu. If you skip this step, the next photo you click will be placed on top of the existing elements in a new layer that you then have to either delete or rearrange your layers. It’s a little annoying, but once you get used to it, it’s not a big deal.
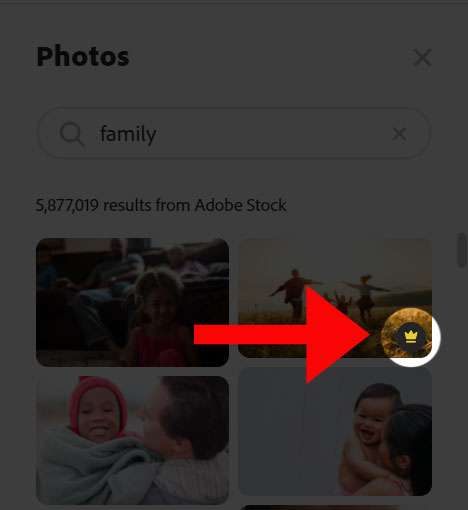
NOTE: See that little crown icon in the lower right of some available images? Items with this icon are behind a paywall. Ignore these photos if you want to stick to the free version of the app.
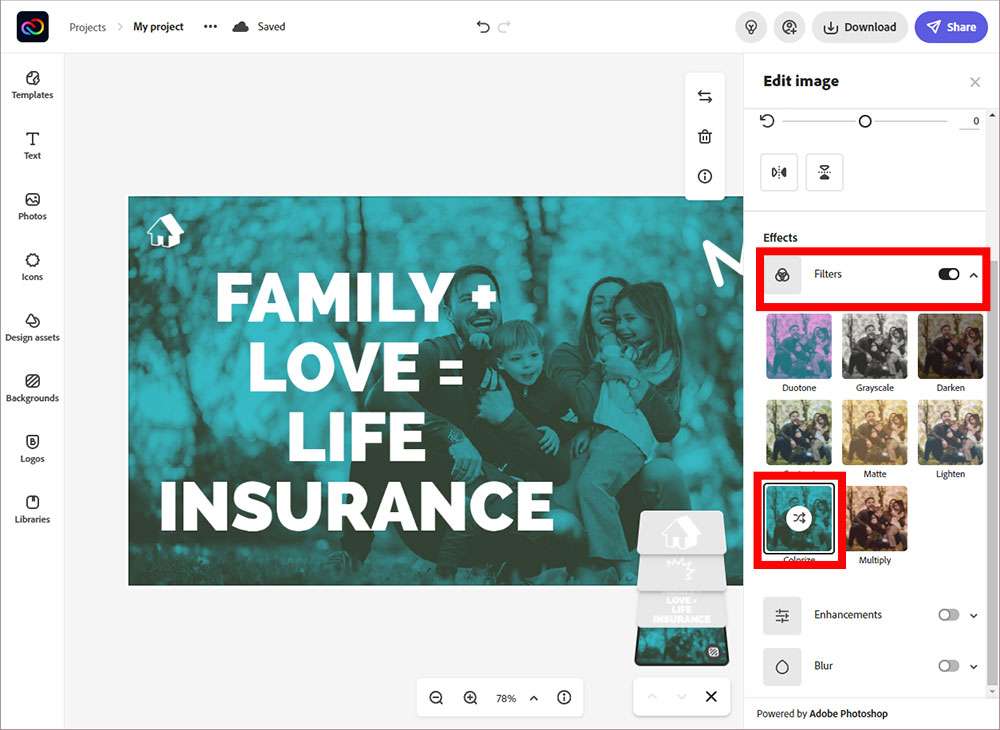
So, we chose a background image we liked, but realized it was hard to read the text on that particular image. If that’s the case for you, too, click Filters from your right-hand Edit image menu and you can play with variations that make your text more readable. We selected Colorize and clicked the arrow tool to cycle through a selection of colors. Bam.
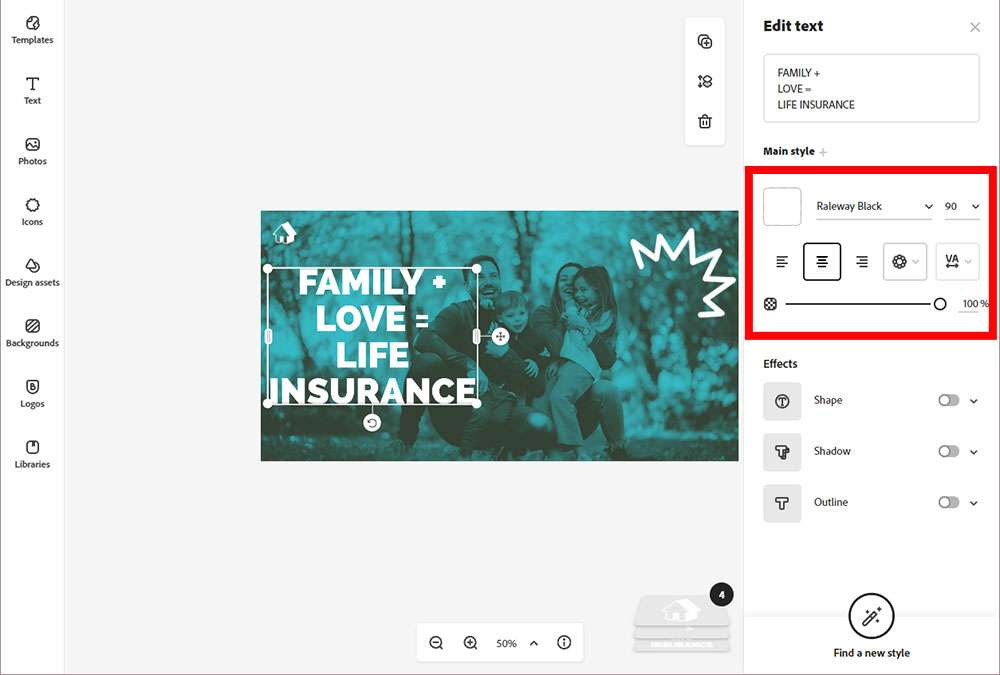
Now…are you also really annoyed by the “+” sign of the text on the dad’s face? Let’s fix that – just click the text to open up the Edit text menu. We used the font size and justification tools to make a quick fix.
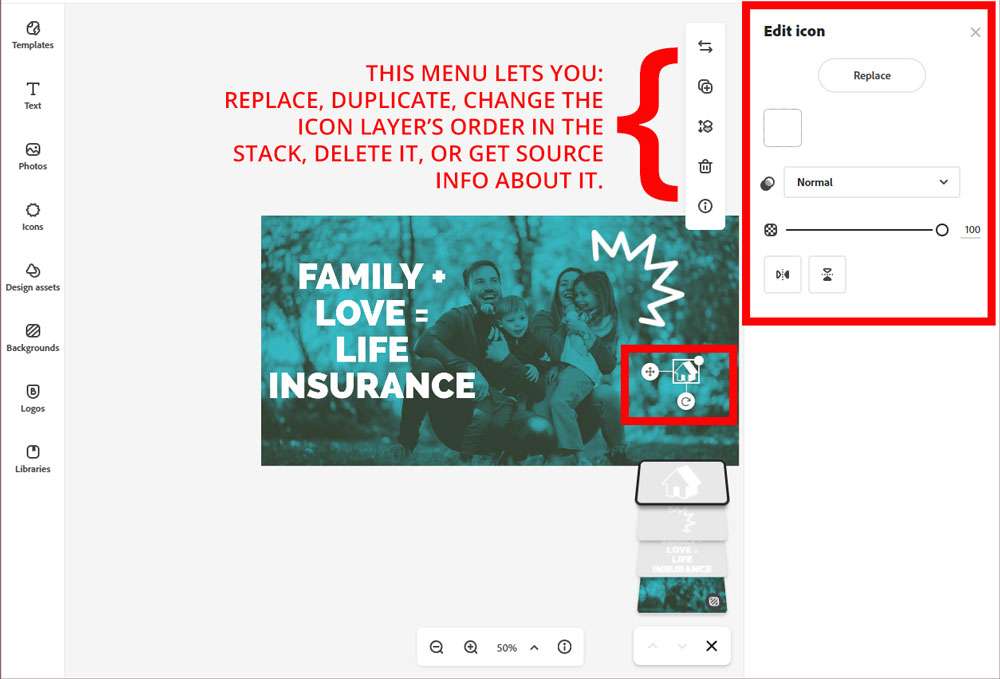
All right, looking good. But now, let’s deal with those icons that came with the template – the house and the zigzag. We can move them around, delete them, or replace them. Click any icon to select it and use the Edit icon menu on your right to replace it or style it. There’s a floating menu with additional options, like duplicating or changing the icon’s layer in the stack order.
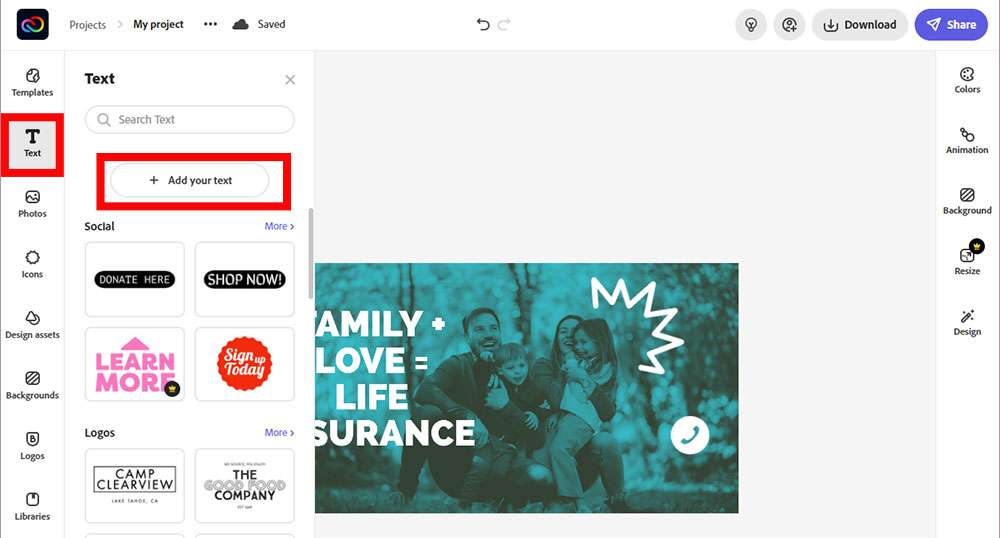
We changed the house icon to a phone icon and increased its size a bit. But since we included a phone icon, now we need to go back and add text with a phone number. To add another text block, click Text in the left-hand menu and select the Add your own text option near the top.
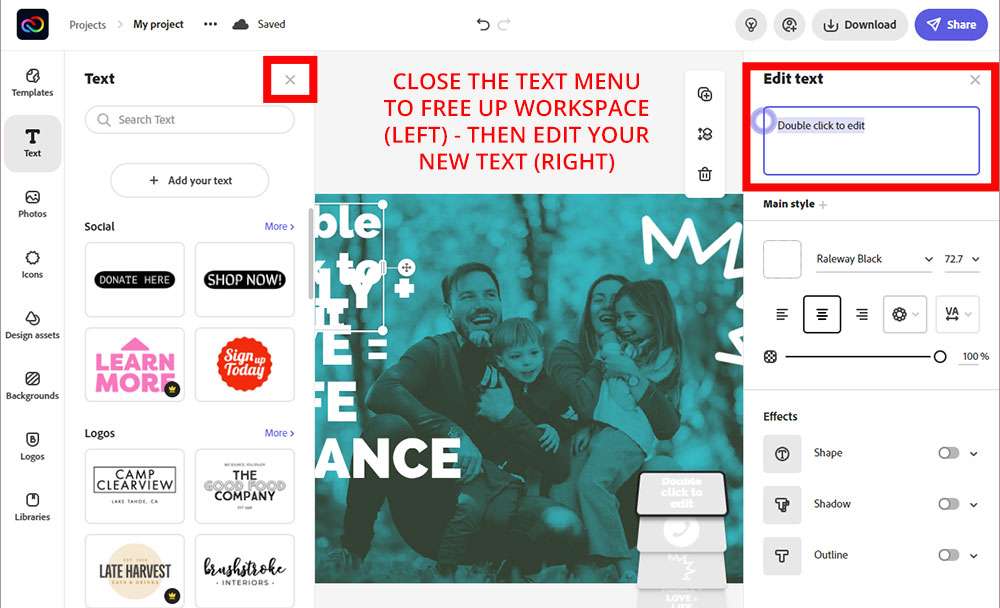
If you find the workspace too crowded, click the left-hand Text menu’s X to dismiss it (shown below on the left). Then add and tweak your new text on the right.
In the end, this is what we’ve got:
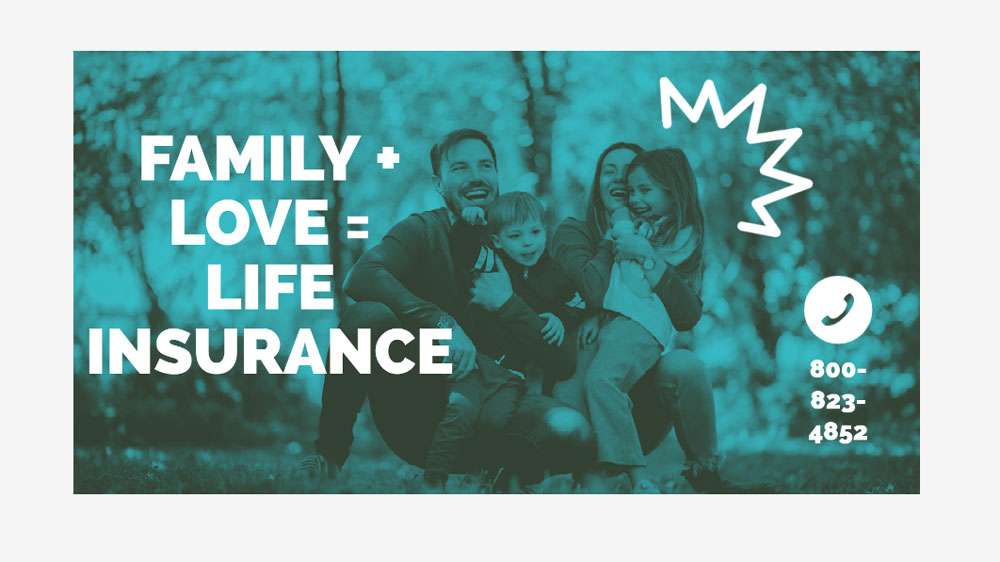
It was fast, easy, and this example just scratches the surface of what you can do with a simple Facebook, Twitter, or LinkedIn post.
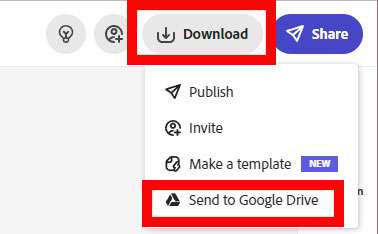
When you’re happy with your finished product, download it or save it to Google Drive. That’s helpful if you know you’ll be posting from your phone later.
Make an Instagram Story
Okay, so we covered the basics above. But let’s go back and create a different project with animation and some of the fancier features. You can always access your dashboard by clicking Projects from the top menu.

Click the purple + sign to start a new project and you’ll see a huge range of options:

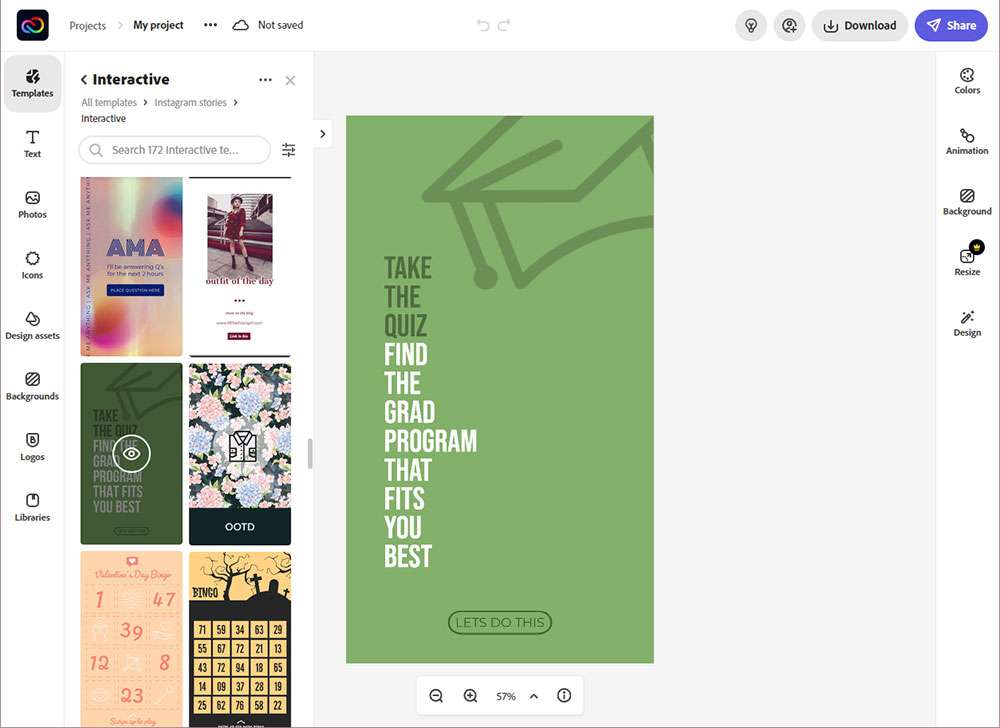
We selected Instagram story, and browsed the pre-set template categories. For this tutorial, we picked the Interactive category. The template we chose asks followers to take a quiz.
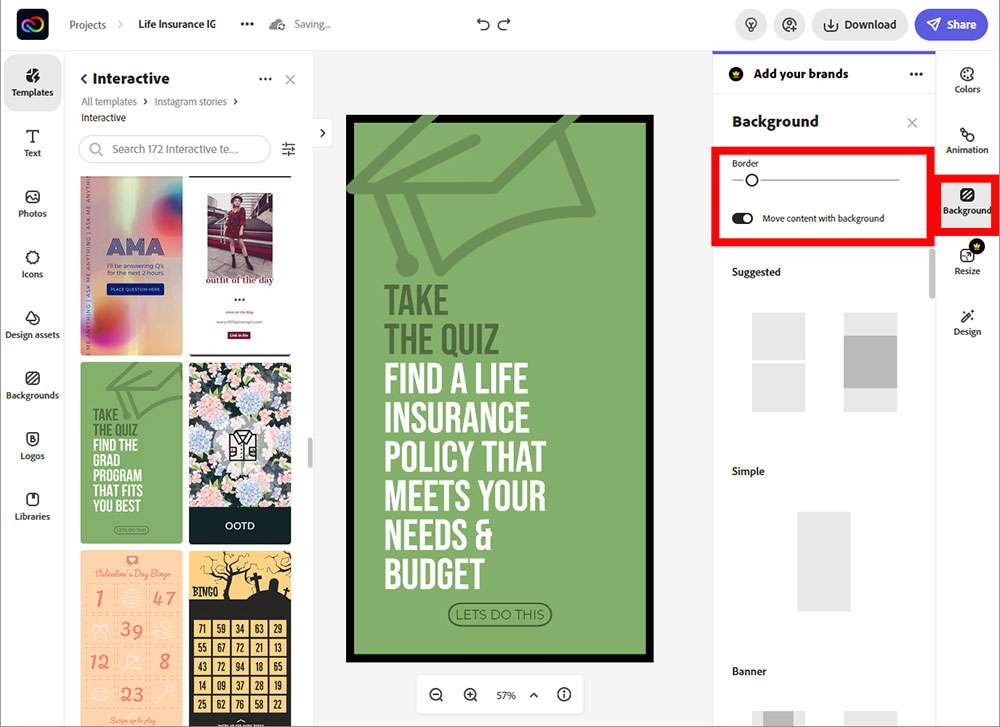
Just like in the previous example, you’ll use layers to select and access elements for editing. There are too many design elements to walk you through, so we’ll just hit on a couple. If you select Background from the right-hand menu, you can add a border and have Adobe automatically move and/or resize the content as the background changes. Nifty!
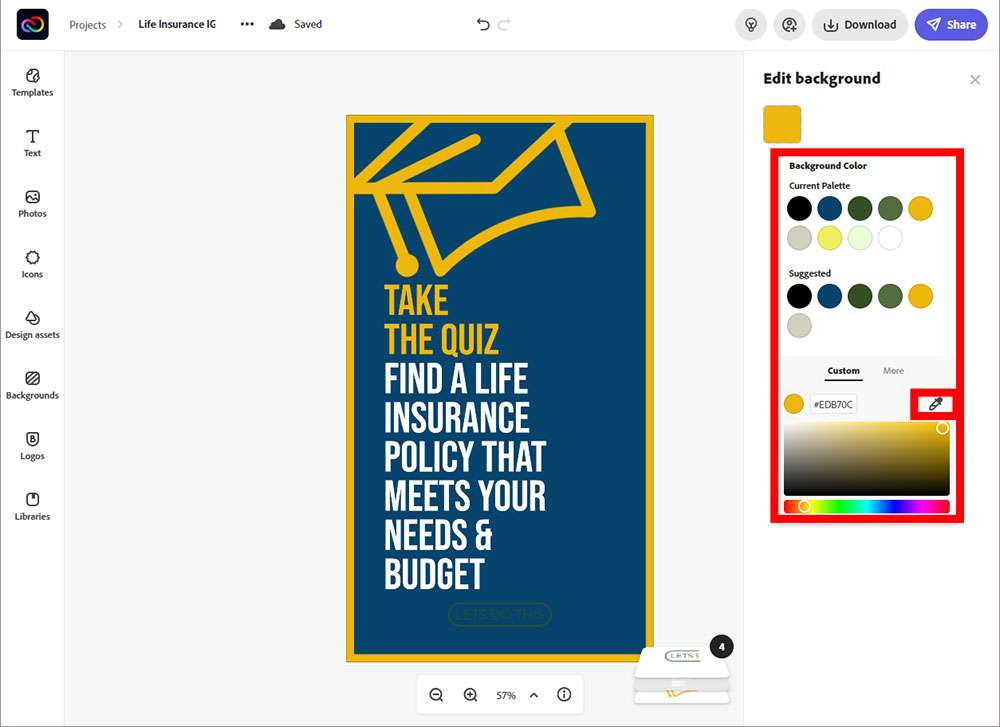
But what if you don’t like that green background? Click on it to pull up the Edit background tool. There, you’ll see a pre-selected palette of colors that blend well with the original template’s color scheme. If you don’t like any of those, click the More tab. You’ll have a range of color options to try.
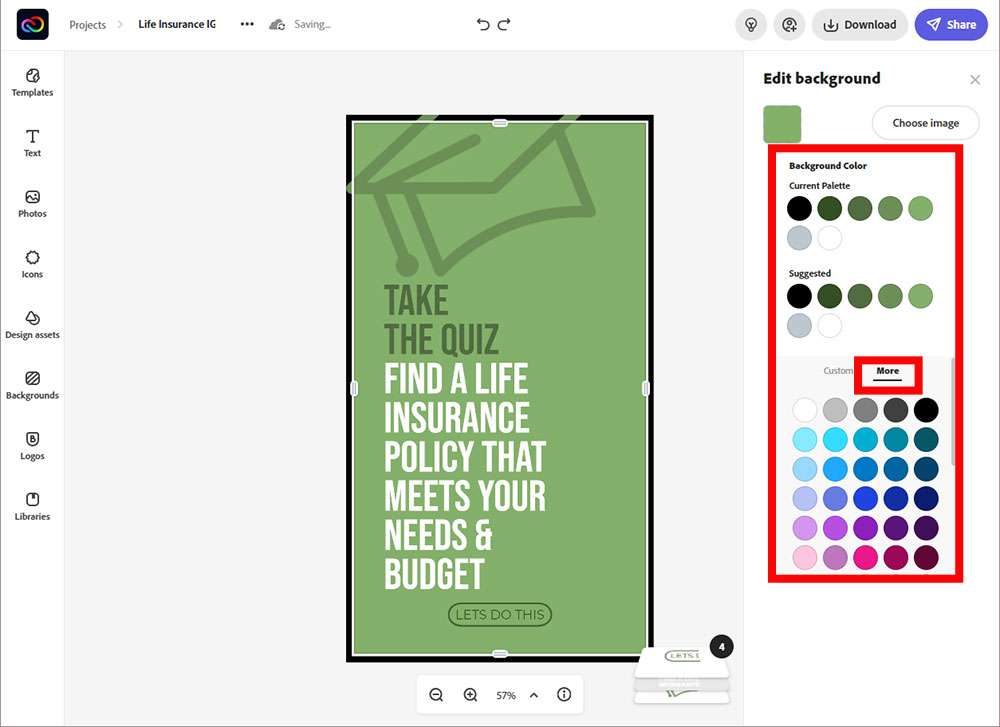
We changed the background color to dark blue and selected a custom color for our highlight color using the color picker.
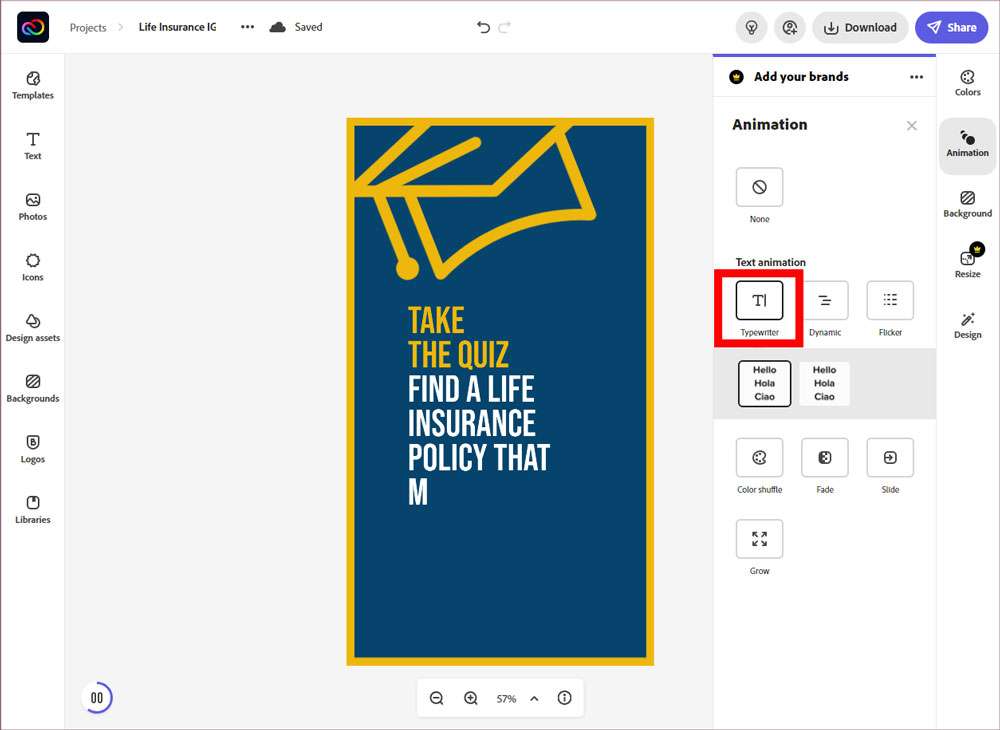
Lookin’ pretty good, right? Now we can do some nifty things with animation, turning a simple text graphic into a video. Click the Animation menu on the right to see what your options are. Most of these are text animation – the text can appear in typewriter mode, one word at a time, flicker, fade in, slide in, or grow. Color shuffle turns your creation into a sort of light show by having elements change color. We went with the typewriter effect.
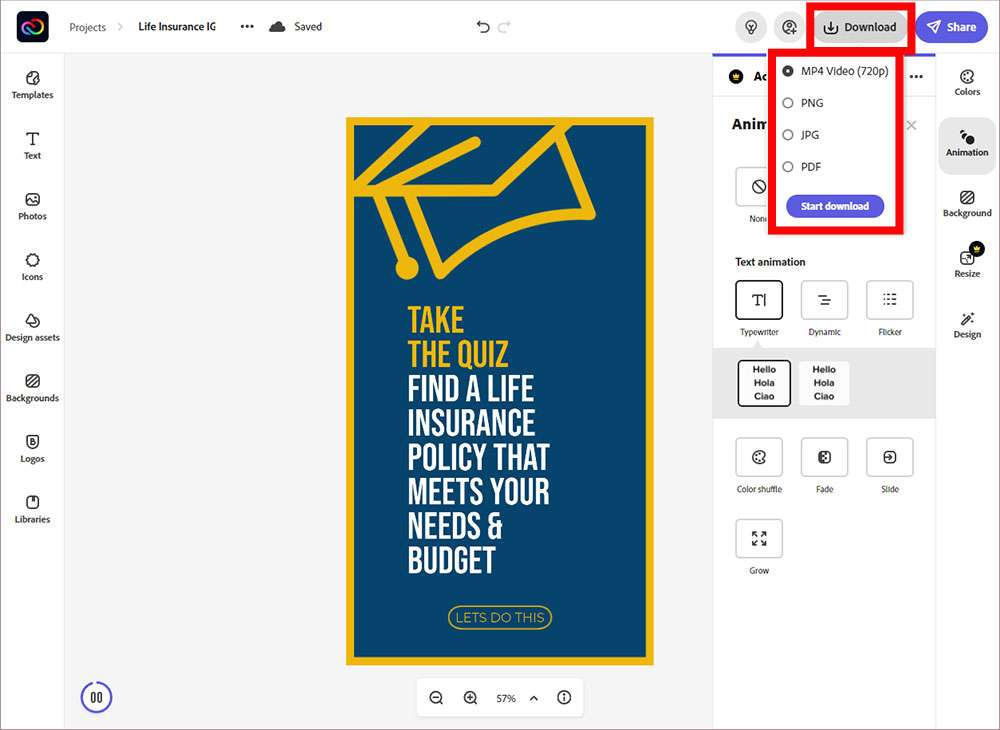
Because the animation creates a video, that’s the default option for saving/downloading this graphic. As before, you can also save this to Google Drive to make it easier to access from your phone for uploading to Instagram.
That’s our quick look at how to use Adobe Creative Cloud Express!
If you’ve used Canva before, this program is similar. What we like about this one is the range of stock photos available. There are plenty of options available before you hit a paywall.
We felt a lot more comfortable with it after making a few sample images. It didn’t take long to get the hang of things – and to realize that ctrl-z (undo) can fix just about any mistake.
What do you guys think? Is this a tool you could see yourself using?