There’s an easy component of SEO that’s often overlooked: your images.
When you think of on-page SEO, you probably think of using keywords in your title, your first sentence, your text, and your subheadings. But don’t neglect your images. There are some small but important things you can do with those images to give Google even more clues as to what your page is about – and should rank for.
No time to read? Watch our video overview:
1. Image size
Oversized images cause delays in page loading – and those delays can send site visitors somewhere else. Beginning this year (2021), Google is making site speed a ranking factor.
According to HTTP Archive, images typically account for 46-48% of the bytes the average webpage must download to display correctly. That’s huge! Since images are such a huge component of site loading speed, it’s time to get serious about size and compression.
Our goal is to use images as large as they need to be to display well on a desktop monitor. Unless you’re totally sure your clients are all viewing your website on a smart TV, you can safely assume they’re using tablets, smartphones, and desktop computers.
Google Analytics can help you figure out what screen resolution most of your site visitors are using – just go to Audience / Technology / Browser & OS / Screen resolution. For example, according to our data, most of our visitors are using screens that are 1920x1080p.
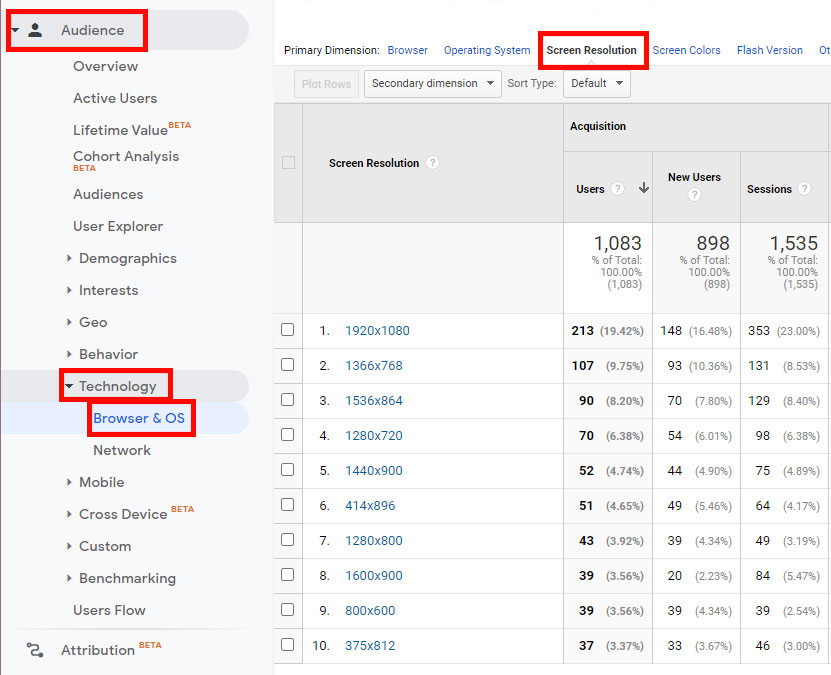
Based on that data, if we want to use an image that covers the entire width of the screen, we don’t need anything wider than 1920px. Keep in mind that many stock photos – especially from paid sources – download in sizes up to 5000px. We just don’t need an image that big, so we’re always going to have to resize it.
What about smaller images that don’t need to cover the width of the screen? For smaller images, it’s just a matter of estimating how much real estate on the screen we want it to cover. A small headshot on our Pinney Team page, for example, is only 100x125px. But the original headshots are up to 2500px high! If we’d loaded the full headshot, any site visitor’s browser would churn through 20x the bandwidth to download the full-size image, even though it’s only going to display it at a much smaller size.
So how do you downsize an image without photo-editing software?
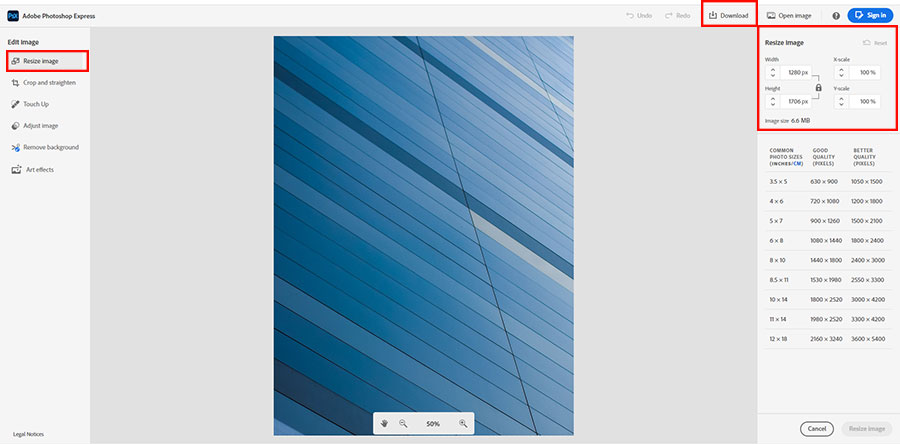
Adobe Photoshop Express. Don't have Photoshop? No problem! Just upload a file to this free tool, and resize it using the indicators on the right. When you’re happy, click the Download button at the top of the screen. You can also crop the image and remove backgrounds – super handy!
2. Image compression
Next, let’s talk about compression. There are plenty of easy ways to make sure your images load quickly even if you don’t have access to Photoshop and its handy “Save for Web” feature.
Free tools for image compression include:
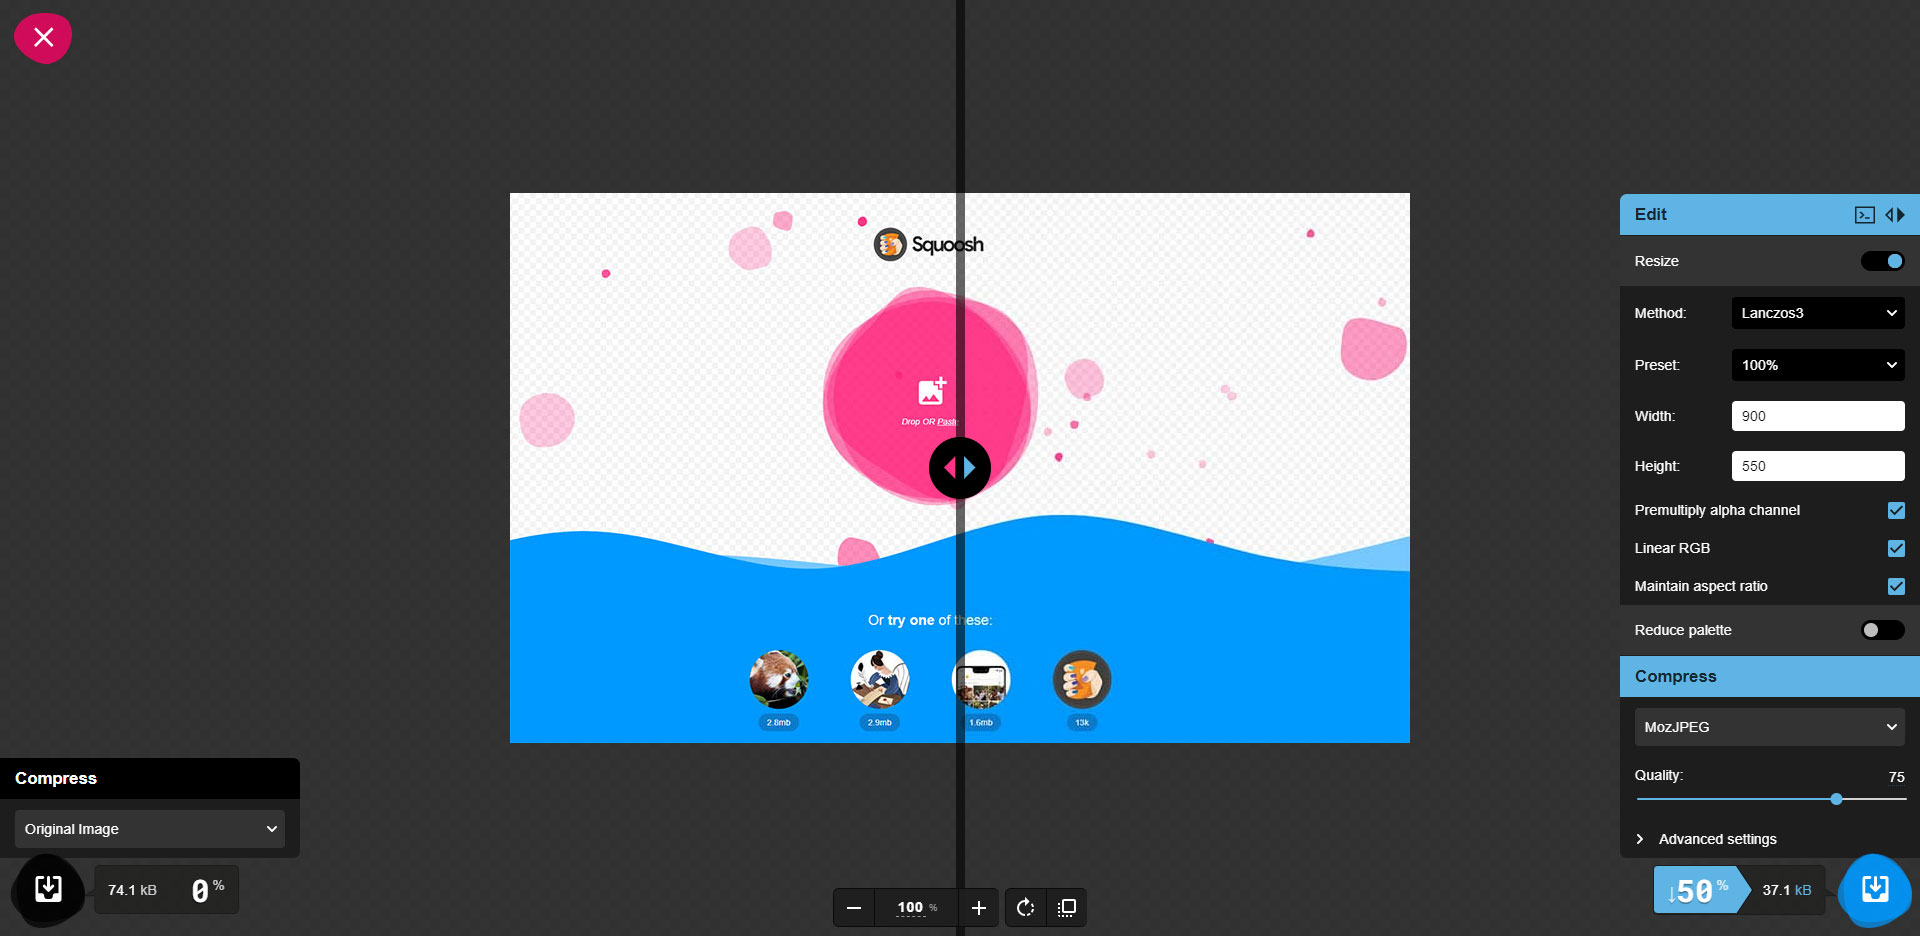
- Squoosh. You can also resize images using this fast, free tool. Once you drop, select, or paste your image, click Resize on the right. We started with an image that was 900 x 550 pixels, which had already been compressed in Photoshop to 71.58kB. Squoosh got that down by 50% to 37.1kB. Not bad!
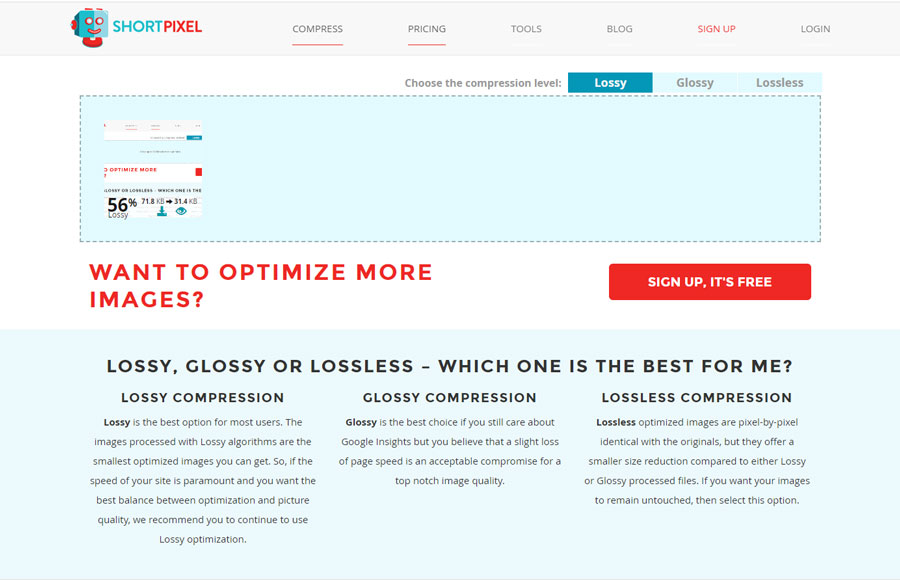
- ShortPixel. This tool is free to use on up to 100 images a month. You have 3 options for compression: lossy, glossy, and lossless. If you’re really keen on site speed, pick lossy. Glossy is a mid-point alternative that sacrifices some loading time, and lossless will compress your image but not as much as either other option. We started with an image that was 900 x 580 pixels, which had already been compressed in Photoshop to 71.8kB. This tool compressed that an additional 56% to 31.4kb. Nice! Note: you can’t resize images using this tool.
3. File name
Your image’s file name matters. It’s the most obvious clue for Google as to what the image depicts, and how it relates to your article or page’s main idea.
Whether you use stock photos or take your own, you should always rename the final version you use on the web. Pexels, for example, is a great place to find images for your site – but the downloaded image file will contain the artist’s name, like this: “pexels-artist-name-123456.jpg.” If you upload that image to your website, how is Google supposed to figure out how that image relates to your keyword(s)? It can’t.
Similarly, digital photos from your camera or phone are probably titled something like “DSC98765.jpg” or “IMG_12345.jpg.” That’s not helpful in terms of providing context for Google.
The answer is simple: rename your images so the title describes the image. You don't want to overdo this, but if possible, at least one image file name should include your main keyphrase.
Here are a couple examples:
- smiling-family-with-life-insurance.jpg
- key-man-policyholder.jpg
- life-insurance-agent-john-doe.jpg
- statistics-about-families-who-need-more-life-insurance.jpg
4. Alt text
Alt text is the text you enter to describe the image for people who can’t see it. WordPress prompts you to enter this when you upload an image. If you're coding your site yourself, all you need to do is include the following in your image tag: alt="Your alt text here". It answers the question: What is this a picture of?
Alt text matters for three reasons:
- First, because visually impaired people often use screen readers that read the content of a website aloud to them. When a screen reader gets to an image, it reads the alt text. Making your website inclusive and accessible is reason enough to start including or improving alt tags. That goes for functional images, too, like button images you want people to click. Your alt text there should be more instructive than descriptive: "Button to click to get a term life insurance quote," for example.
- Alt tags also display to non-visually-impaired site visitors if your image fails to load. This can happen if the image was moved or deleted, but is still linked to from that web page. It can also happen if the image simply takes a long time to load or can’t load because there’s not enough bandwidth to download it in full. In all these cases, your alt tag will be visible to those visitors.
- And finally, Google reads your alt tags to help understand what the image represents and how it may relate to the page content.
To meet all these needs, you have to create tags that clearly describe the image to someone who can’t see it. Google’s guidance on alt text encourages you to use keywords in your alt text, but warns you not to resort to spammy keyword stuffing techniques.
Here are their specific examples on creating alt text, from the guidance linked above:
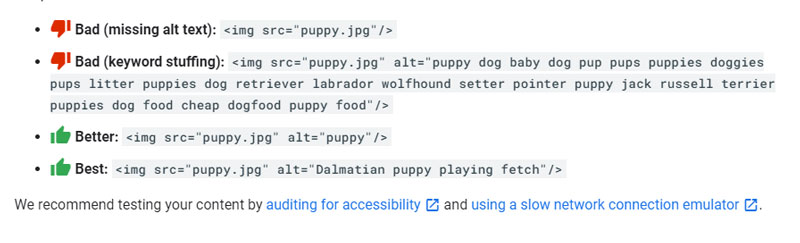
Notice that the alt text isn’t a complete sentence – that’s specifically how Google asks you to enter alt text.
5. Captions
Captions serve two purposes: they tell your site visitor what a picture represents, and it gives Google important context about the subject of both that photo and the page content. Google’s guidance on this issue is as follows: “Google extracts information about the subject matter of the image from the content of the page, including captions and image titles.”
If that sound a lot like alt text, you’re right.
But alt text doesn’t display to every site visitor – while your captions do.
It’s a good idea to include keywords that help reinforce the content’s main idea (without keyphrase stuffing, of course). You might notice that our current website theme doesn't use captions - this is something we're going to look at changing to take advantage of the SEO benefits!
Captions can also go further than a simple description of an image. For example, if you put an image of a person working from home on a page about business insurance, you could add a specific bit of information about coverage that applies - or doesn’t apply - to those who meet clients at home. Anything you include that relates to the subject of the page helps Google figure out all the aspects of the issue you cover and could rank for. You're also providing even more helpful information for site visitors.
It may seem like a pain to stop and create a 1-2 sentence caption for every image on your site, but it improves user experience and boosts your SEO. If you haven’t done it up to now, make it a habit from here on out. Over time, you (or a staff member) can backfill past post and pages.
That’s our look at 5 easy image SEO tips!
You might notice that title tags didn’t make it onto this list. That’s because they’re not included in Google’s best practices for images, linked above in #4 and #5.
Title tags are only visible when a site visitor hovers their mouse over an image. Currently, not all browsers even display them. Plus, with so much traffic coming from mobile devices (and thus no mouse usage), title tags have fallen by the wayside in terms of SEO recommendations.
How much image SEO do you do for your website? What other tips can you share? Please add them in the comments!